 Loading... Please wait...
- 406-754-2891 (800-922-5255)
- Home
- My Account
- Gift Certificates
- View Cart

Making Art in Moscow with Russian Cyanotype Artist Andrey Fokin
Posted by Andrey Fokin on 23rd Jun 2017
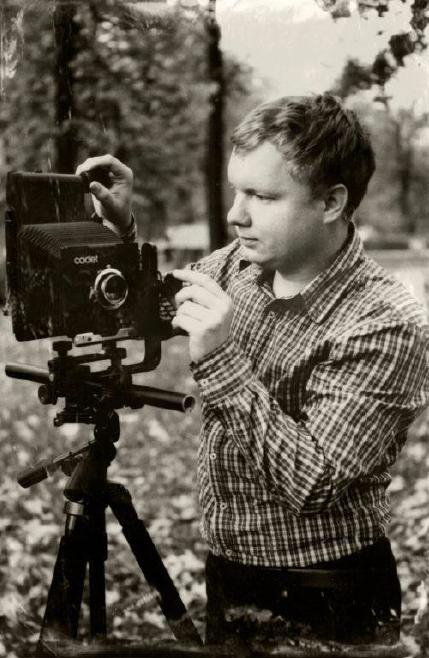
My name is, Andrey Fokin and I live in Moscow, Russia. I have been doing fine art photography for about 10 years. I photograph in digital, 35mm film, and medium and large formats. I got interested in alternative photography 4 years ago after being introduced to cyanotype. Currently, I capture images using a Cambo 4x5 camera, a Canon 7D, and an iPhone5 and also explore the Van Dyke Brown and Gum Bichromate processes.
Going "Gorilla" in Russia.
In Russia, the Alt. Photography scene is even more underground than in the States. Enthusiasts often do not have access to professional equipment and ready-made solutions. They make due with creating their own home made methods and techniques. You could say we have a certain “gorilla” style of photography that is very unique to the area.
In this article I want to share an alternative printing process that I came up with using the available resources. I believe these seemingly harsh constraints and limitations actually help to produce art with it’s own aesthetic and sensibility. I invite you to get a glimpse into my processes of exploration and discovery as I make art Moscow!
Alternative printing requires the following components
- Negative;
- Chemistry;
- Paper;
- Print and development tools;
Most beginner students who want to plunge into the world of alternative photography still have some access to photography schools (physical or online) or local experts who can show them the ropes. They can simply hop online or travel to bigger cities to find the necessary equipment and chemicals, but not so in Russia!
I'll talk about the main elements for an alternative photo:
Negative:
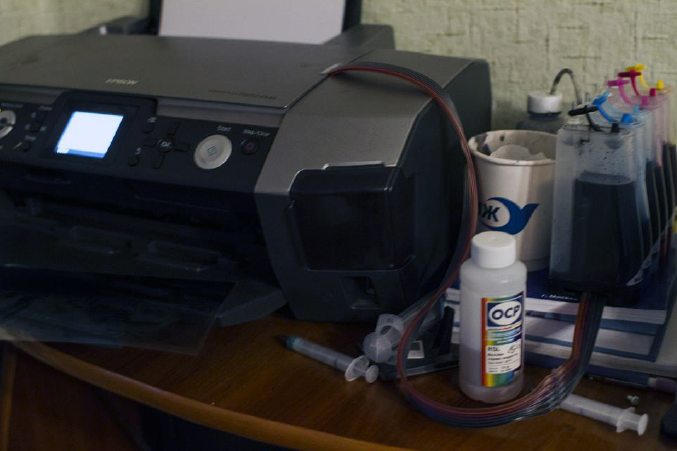
Because large format film negatives can get expensive, I needed to find e simpler digital negative solution. It’s tough to buy a normal transparency film for printing type pictorico, only having ordered with amazon with delivery for 20$,we can only buyLomond film (12$ 50 pcs a4), which dries badly. They also print on laser B/W printers on questionable quality materials on plain paper and then impregnate them with wax or cheap tracing paper .
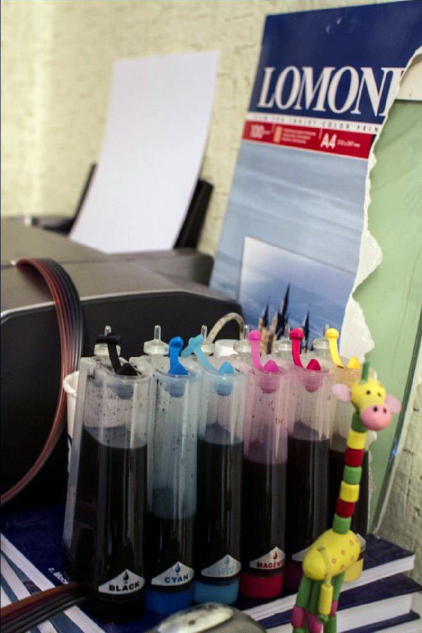
I use Lomond film and Epson inkjet printer with Continuous Ink Supply System
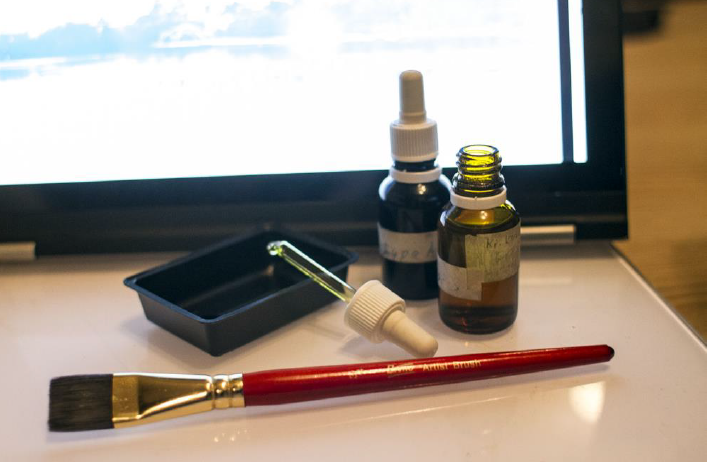
Chemistry:
In Russia there are practically no specialized stores with photochemistry. Chemistry is sold in specialized stores for chemists.
Russia is rich in a variety of natural resources, so we all sell bags of 50 kg, or (if you're lucky) 1 kg, but not less. When you only need 10 grams, you have to look for people who will share their chemistry. What kind of chemistry? Things like thiosulfate are passed from father to son! This could be gathering dust in the attic floor of 50-70 years, but still works perfectly! Interestingly, it is cheaper to buy a bag of red blood salt, which is enough for life, than a small bottle with a diluted solution. Many substances are sold only to legal entities.
Ready-made kits for cyanotypes are not massively sold in Moscow. There are 1-2 firms that buy reagents in kilograms at a chemical store and pack them 10 grams and sell with a 1000 percent mark-up calling it a cyanotype kit!
I make all the solutions myself, then I will show the printing process using the example of cyanotype.
Paper:
We have a few specialized ones such as Cansonor Hahnemuhle paper, for the same reason as the film for negative- it is not available or it is terribly expensive. Usually, everyone likes to print on cheap watercolor paper, which is sold everywhere.
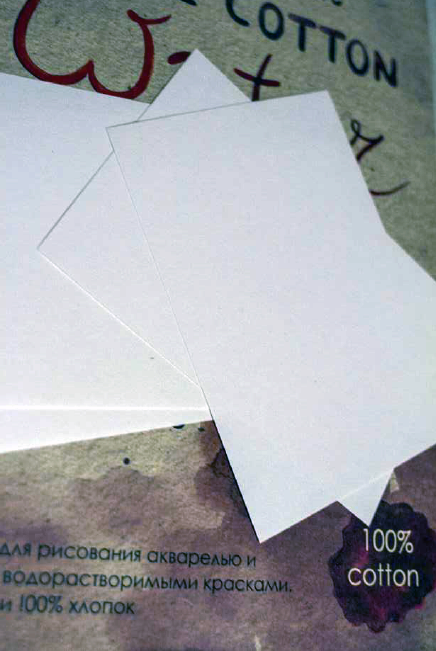
I use watercolor paper at the price of 1-3 $ for 20 sheets and it works great.
Printing and developing tools:
Very few people use specialized UV boxes with timers. Most enthusiasts like to use UV boxes with improvised materials like: plywood, Foil, a UV or LED lamps.
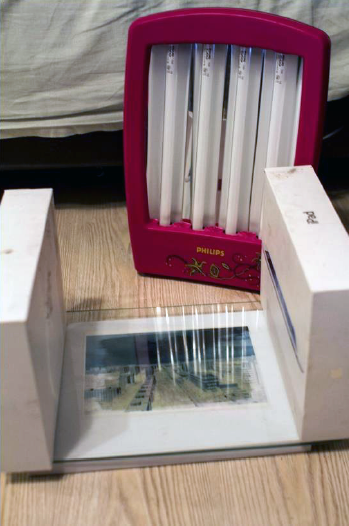
In general, instead of a special contact frame, glass with clamps is preferred. I sometimes use a book, glass from the shelf, and a box under the ipad.
Other equipment I use are scales, measuring cups, brushes, and whatever is on hand around the house!
Printing cyanotype at home:
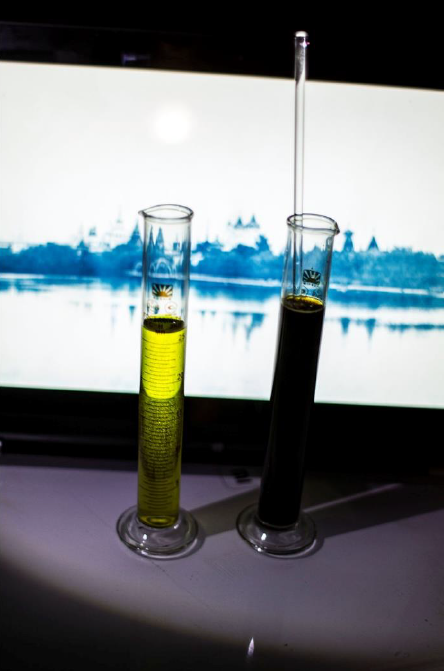
Step 1. I prepare 25 ml each. Solutions A and B. To do this I dilute with distilled water according to the classical formula: 25 grams of Ferric ammonium citrate (green) and 10 grams of Potassium ferricyanide.
Then I pour the solutions into dark bottles with a pipette, mixing in equal proportions A and B. I apply the resulting solution to the paper with a brush.
Step 2. I print a digital negative on the printer.
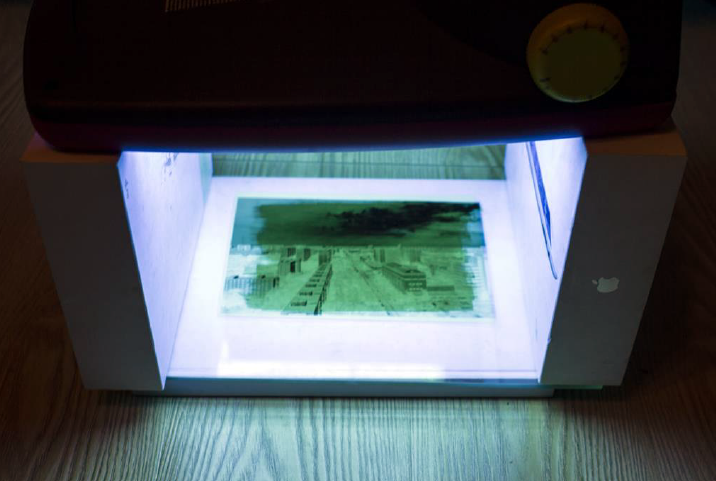
Step 3. I will expose for 5 minutes under the solarium for the face:
Step 4.The print is washed in a cuvette with tap water.
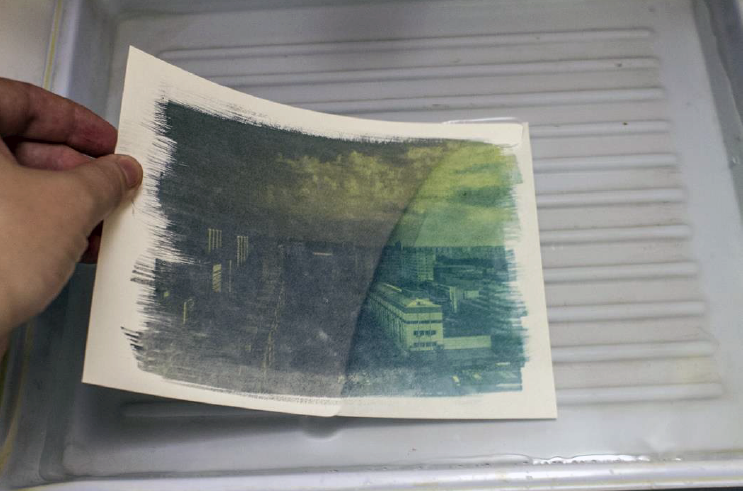
The process of toning
Fill the washed out imprint with hot Yerba Mate tea, wait 30 seconds and ready.
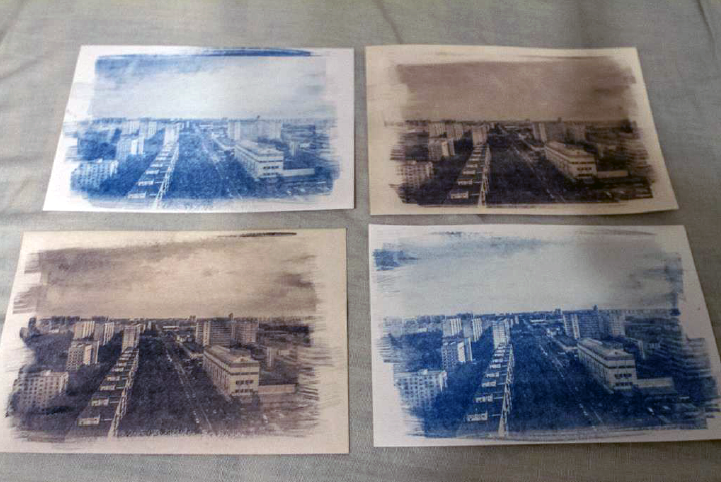
Here are the finished prints!
I hope you enjoyed getting a peak at my art making process. There is so much more to cover! If you have any questions, or just want to reach out you can find me at:
website: http://silverfoto.ru/
Instagramm: @rusilverfoto
Facebook: @fandreyn
Recent Posts
- » Annie Pike's Celestial Cyanotypes
- » Luther Gerlach Wet Plate Collodion (Off the Grid) Landscape Photography Then and Now
- » Making Art in Moscow with Russian Cyanotype Artist Andrey Fokin
- » Christina Z. Anderson's Salted Paper and Gum Bichromate Workshop June 18th -23rd 2017
- » Nathan McCreery On The Art of Proper Exposure When Shooting Black and White Film